 Creating a Stencil Bomb in Illustrator
Jul 22nd in Designing, Illustration by Cody WalkerThere are many different ways to approach making a stencil. Some artists use Photoshop to create their stencils, but this method usually involves manipulating existing images.
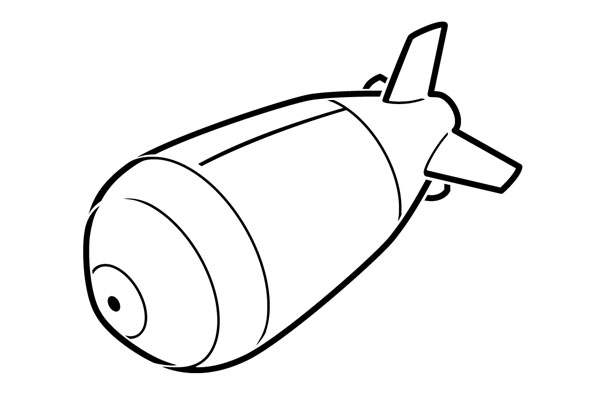
For this tutorial, I'm going to start from scratch and go through the process of creating a graphic illustration intended to become a stencil, designing bridges into the illustration so it can be cut out with out losing any structure, And generally creating a design that works well as a large graphic image.
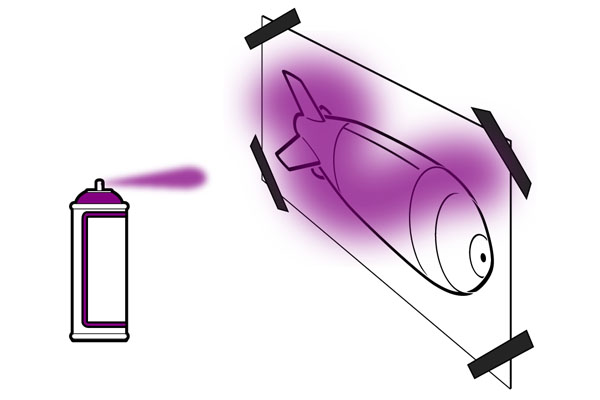
Final Stencil Preview
Below is the final stencil we will be working towards. Want access to the full Vector Source files and downloadable copies of every tutorial, including this one? Join Vector Plus for just 9$ a month.
Tutorial Details
- Program: Adobe Illustrator
- Version: CS4
- Difficulty: Intermediate
- Estimated Completion Time: 2 hours
Step 1 - Choosing a Good Subject
Clarity is a very important part of stencil art. Choosing a subject with a strong well-defined silhouette makes all the difference. For this tutorial I'm going to create a stylized image of the WW2 atomic (fat man) bomb.
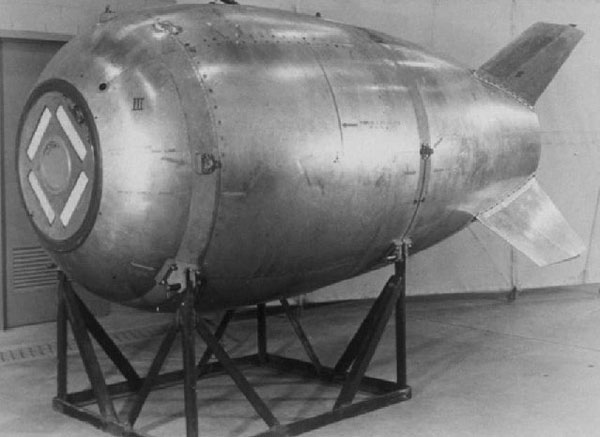
Step 2 - Reference Photo
I started by getting a reference photo from Wikipedia.
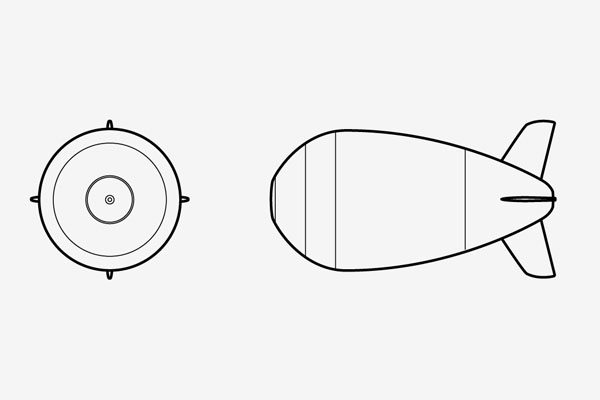
Step 3 - Quick Orthographics
From this image I created a quick set of orthographics. I needed a side view and a front view.
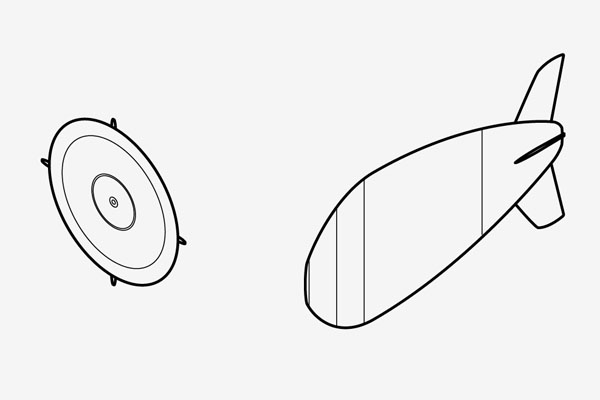
Step 4 - SSR
Using the method I discussed in the SSR tutorial, I scaled, sheared, and rotated my orthographics into isometric. I could make the stencil in perspective, but the setup would be more complicated, and I really like the results in isomeric.
Step 5 - Line Up
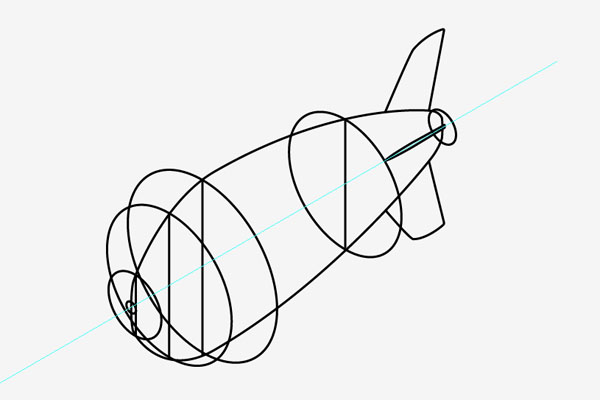
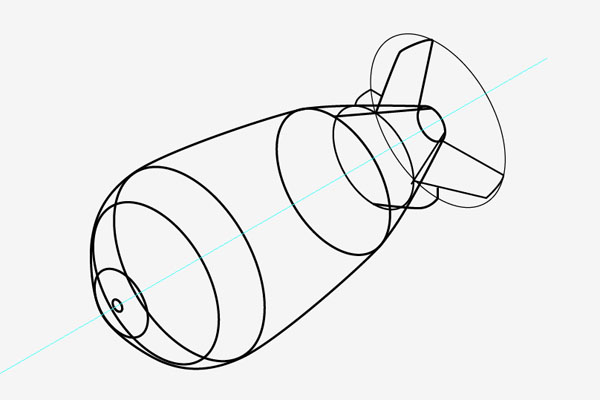
I use the side view of the bomb to line up the ellipses and created the wireframe of the bomb. Building the stabilizer fins can be a bit tricky, but if you use an ellipse for reference, you can keep them the same size and in line.
Step 6 - Clean Up the Shapes
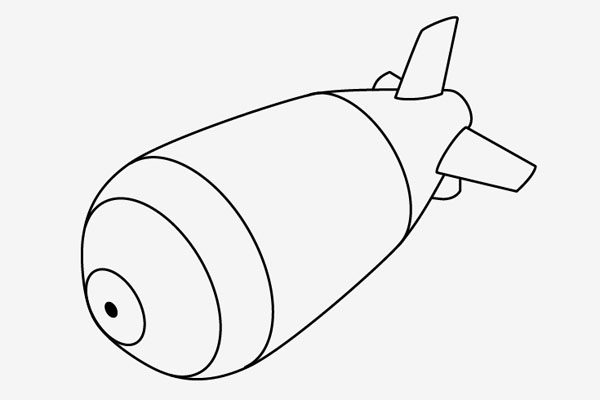
I started connecting and cleaning up the shapes. Removing the hidden lines and building up an outline.
Step 7 - Thick Outlines
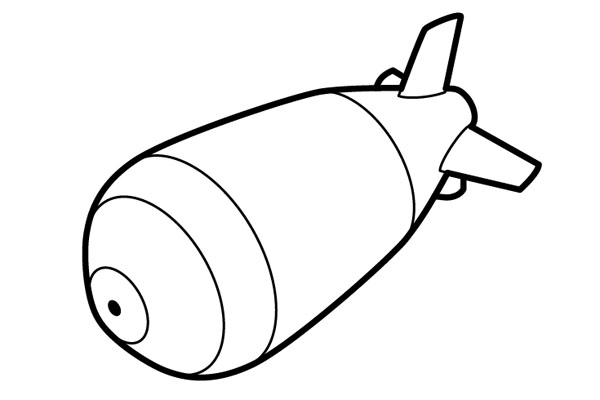
Now that the image is created the next focus is line quality. A big thick outline will give the stencil a clear visual impact and make your life a lot easier when it comes time to cut out the shapes.
Step 8 - Bridges and Islands
This is where a normal illustration becomes a stencil. Since you are cutting out the outlines, any open space that is not connected to the rest of the paper will fall out when you finish cutting (these are called islands). So to keep your inner structure you have to design in some bridges to give the inner elements structure. The tricky part about designing in bridges is to keep them as unobtrusive as possible. You don't want to ruin your silhouette by having a big break in it for no reason. So the best places to make bridges is at the connection points, at corners, or at overlaps.
To start this process select your illustration and go to Object > Expand. Expand both the fill and stroke. This will turn your lines into shapes so it's much easier to cut them apart and join them together. You can't go back to lines after you've expanded everything to shapes so before you start be sure to make a copy of your illustration on a separate layer and lock it.
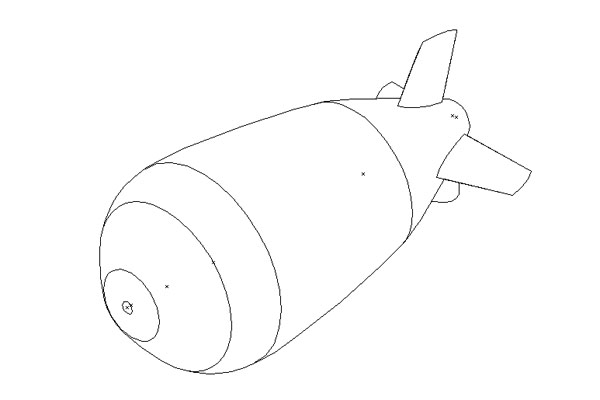
Below is the line work in outline view.
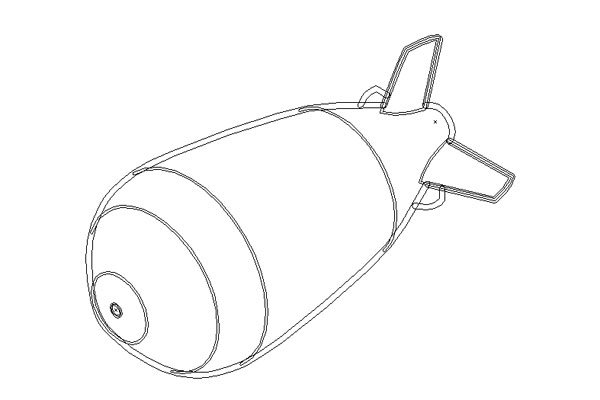
Below is the line work in outline view after being expanded.
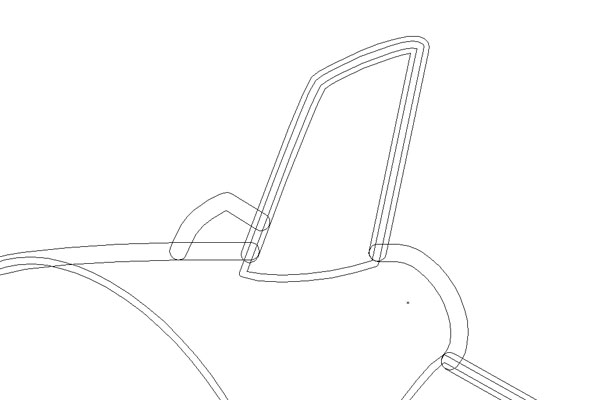
After expanding your lines use the Scissors and Pen Tools to clean up, then adjust the new shapes and build in bridges.
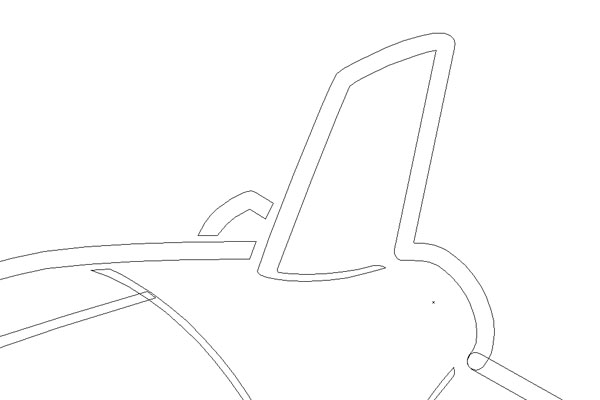
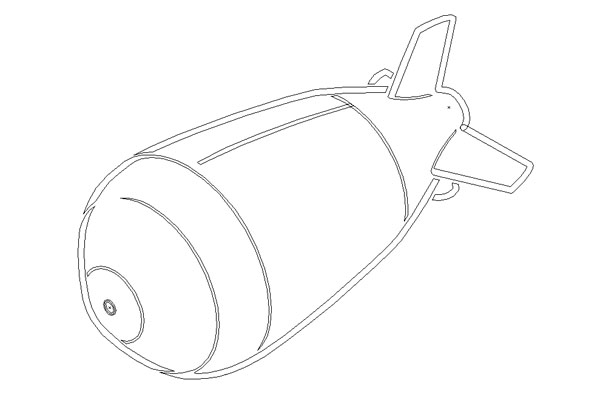
Below is the final image in outline view.
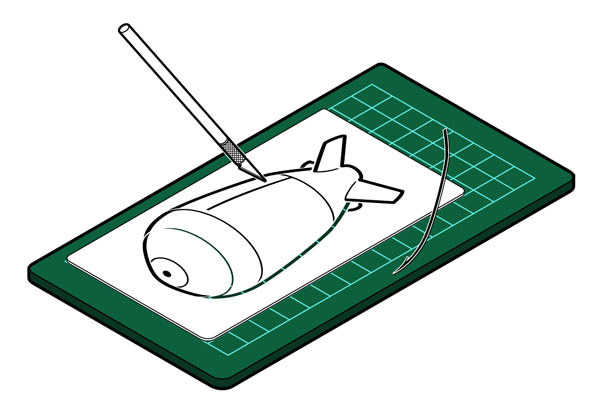
Step 9 - Print it, Cut it Out
You can make stencils out of lots of different materials. The thicker and stronger the material the longer your stencil will last, but the harder it will be to cut out. There are materials you can buy at art stores specifically for making stencils.
Step 10 - Spray it
To get a nice clean images start by spraying the back of your image with a light dusting of spray adhesive. This will keep all parts of the image tight to the wall and hopefully stop any paint from getting in under the edges of your stencil.
There are lots of different ways to spray a stencil. Spray paint is the easiest but not always the best solution depending on the project. Airbrush works just as well, but with less fumes.
You can also print several copies of the same stencil and cut out different parts. Layering your paint with different stencils and different colors can lead to some really cool designs. A simple example of this would be to print off two copies of the stencil. The first cut out the entire images just leaving a silhouette of the bomb. The second stencil cut out the line work. This way you can use the silhouette to lay down a base color, then the line work for details, or off set the line work for a cool effect.
The nice thing about stencils is if you make them out of nice materials and take care of them, you can build up a library and use them for many projects.

Subscribe to the Vectortuts+ Feed to stay up to date with the latest vector tutorials and articles.


0 comments:
Post a Comment